For the Joy of Life.: dessert

Showing posts with label dessert. Show all posts

Sour Cream Banana Bars

Sunday, April 19, 2020

We had some overripe bananas the other day. Like most people I use my overripe bananas for banana bread or muffins. However, a few years ago my life was changed forever when I tried to make banana bars. Guys! These bad boys are so yummy! I combined a few recipes and tweaked things where I thought needed and I'll tell you what, these things are soo good! The sour cream makes the bar soo moist and the brown sugar glaze just ties it all in perfectly. The glaze was a concoction I made while pregnant with with Oaks because I was craving something with the salted caramel flavor. I'm telling you, my best recipes come when I'm pregnant and craving things haha. Anyways, these bars are soo yummy and I hope you love them as much as we do! Let me know if you make them!

All my love,
Aleigh Joy


Sour cream banana bars 
-3/4 c white sugar 
-3/4 c brown sugar
-1 c sour cream
-1/2 c softened butter
-2 eggs 
-2-3 overripe bananas (mashed) 
-2 tsp vanilla 
-2 c flour
-1 tsp salt 
-1 tsp baking soda 

Brown sugar glaze 
-1 c butter 
-1 c brown sugar 
-1 c powdered sugar
-1 tsp vanilla
-dash of Salt (Just like a shake or two from your salt shaker. If you're using salted butter just do one shake but if you're doing unsalted you might want more. Just taste test it!)

Directions:
Heat oven to 375 degrees. Line jelly roll pan with parchment paper (or grease and flour a jelly roll pan) Mix sugars, sour cream, butter, and eggs in a stand mixer (or with a hand mixer) until well combined. Beat in mashed bananas and vanilla. Mix until combined. Slowly add in flour, baking soda, and salt until combined. Pour into the pan and bake until golden. (20-25 minutes) Let bars sit for about 10 minutes and then poke several times with a fork and pour glaze over the top. 

To make glaze:
Melt butter in saucepan. Add in brown sugar, vanilla, and dash of salt. Continually whisk until smooth. Let boil for 5 minutes whisking occasionally. Slowly add in sifted powdered sugar in 3 increments whisking each time. Pour glaze over banana bars and use a rubber spatula to spread evenly. Let cool for 10 minutes. Cut, and enjoy!


4

Tasty Tuesday: My Favorite Energy Bites

Tuesday, January 22, 2019

Literally every single night right after the girls go to bed, all I want to do is treat myself to something sweet. It's like giving myself a reward for getting through another day, ha! If I was still 16, it would be totally fine to have a little treat every night! Buttttt... I'm not haha. So, I've been trying to find an alternatives to cookies, ice cream, and all the other deliciousness I crave. There are a million and a half protein and energy bite recipes out there. Each of them contain mainly the same ingredients, just different ratios and different extras. After putting these ones together, I became obsessed! They are plenty sweet without all that extra guilt and are filling enough that you really only need one. I hope you love them as much as we do!


Ingredients:
-2 cups natural peanut butter or almond butter
-2 cups quick oats
-1/4 cup honey or agave (if you choose agave, you'll need about 1/4 cup extra quick oats to hold them together better)
-1/3 cup chopped almonds
-1/3 cup dark chocolate chips
-1/3 cup shredded coconut 


Directions:
1) Add all ingredients into a mixing bowl and combine. You can do this with a spatula, your hands, or my favorite way... in a kitchenaid with the bread hook. 
2) Line tupperware with parchment paper. Spray your hand lightly with cooking spray. Grab a small handful of the mixture and roll it into a ball. You can also use a cookie scoop to make it easier. If you run out of room, you can add another layer of parchment paper so they don't all stick together. 
3) Keep in the fridge until set! You can also freeze them. Whatever you fancy!

Anddd that's it! So simple and so yummy!
I hope you love them!

All my love,
Aleigh Joy
1

DIY Cookie Jar Vinyl With Cricut + Butterscotch Oatmeal Cookies

Thursday, March 30, 2017

Once upon a time I had a little cupcake business.
This was before Hunter and I were married and I mostly just had a lot of fun with it!
I made cupcakes for bridal showers, weddings, birthday parties, baby showers, events... you name it!
There was something so fun about creating new flavors and topping them to look cute.
However, I never actually really ate said cupcakes.
I would try a few here and there and lick the spoon when I was done with the frosting, but I mostly just did it for my customers. 
When I married Hunter I quickly found out that he is so not a cake person.
He would prefer a cookie over a slice of cake any day.
Even though I still love to bake cupcakes, I quickly found myself falling in love with the different types of cookie combinations out there.
I started baking new creations every Sunday and we would judge each of them.
Hunter's favorite is hands down peanut butter and mine is butterscotch oatmeal!
Now our tiny person absolutely loves cookies too! 
She asks for a "tookie" almost every day now... oops!
If I could make cookies every day, I totally would ;)


Usually when I make cookies I'll bake half the dough and freeze the other half for the next week.
That helped eliminate some waste since there's no way our little family can or should finish a dozen cookies.
However, our cookies still got stale and ended up in the trash after about 24 hours if i left them out. 
I've always loved the idea of a cookie jar but couldn't find any I liked. 
I just wanted a simple jar that was easy to open and had plenty of room to store the cookies.
I found a glass one at Walmart for super cheap, but just felt like it was missing something. 
I wanted my cookie jar to actually say "Cookie" somewhere on it so I didn't end up putting a million other unnecessary things in it... yeah that's totally how I clean ha. If something is empty I just put more stuff in it!
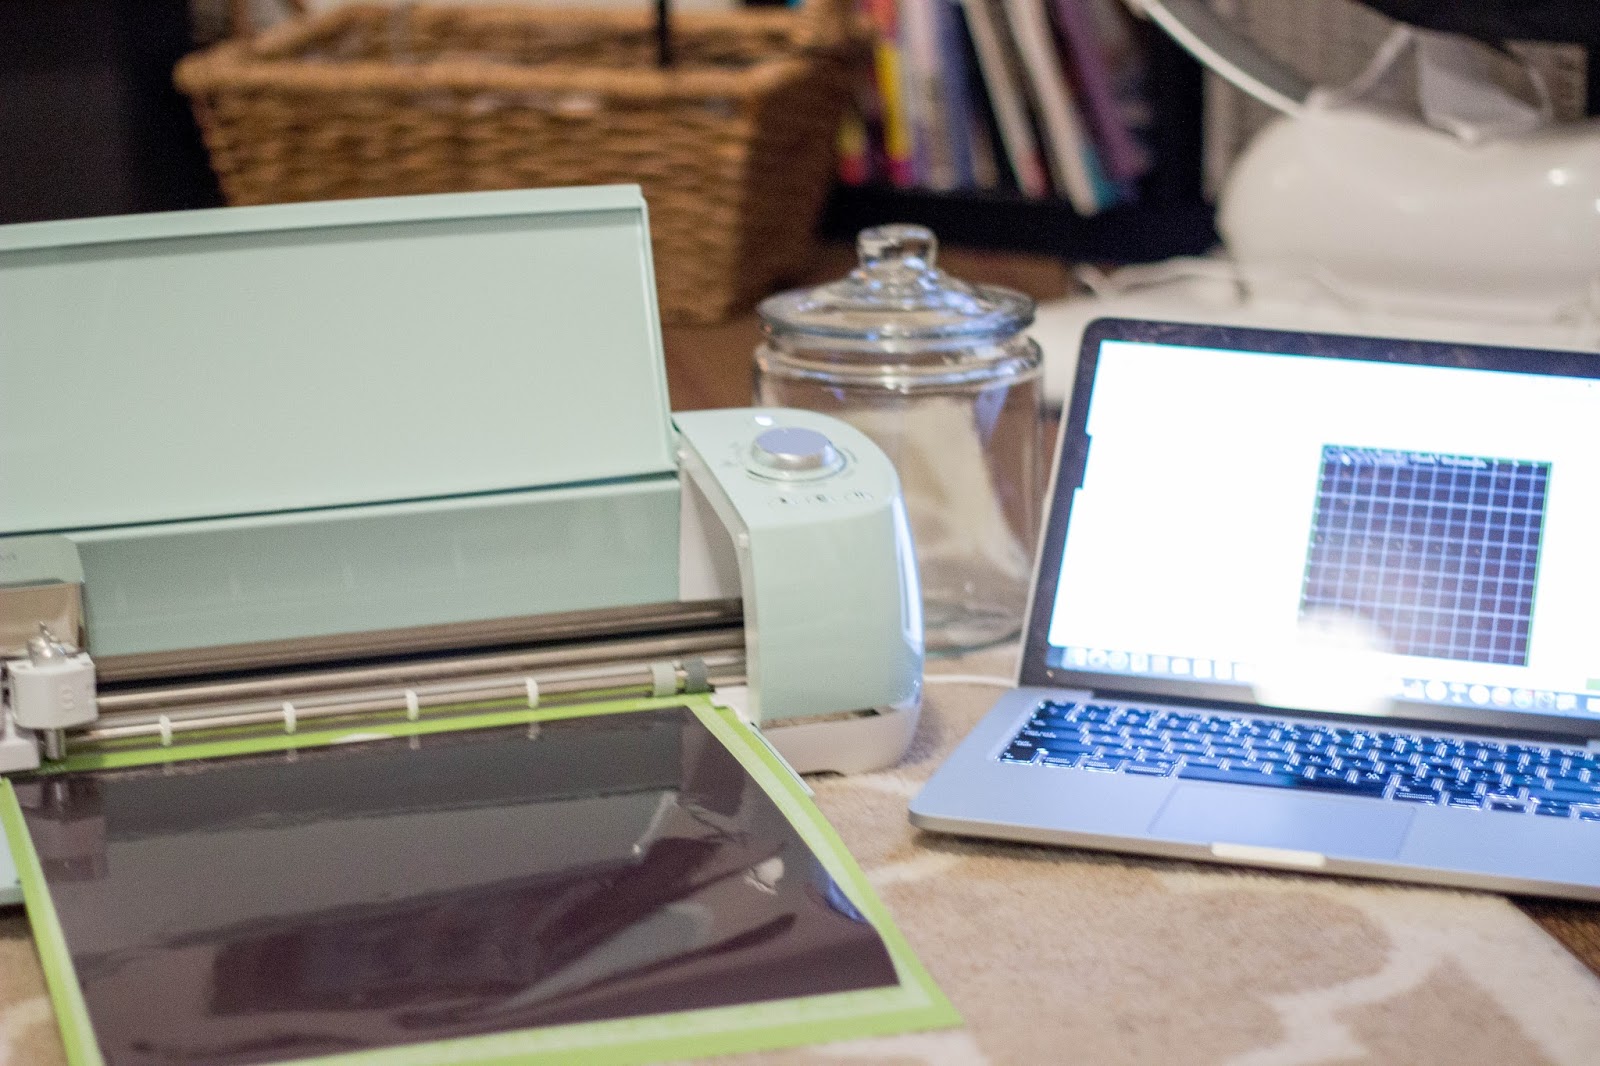
Insert my new favorite toy... The Cricut Explore Air 2!


You guys, how have I lived my life without a Cricut for so long??
These things are so cool!
I'm now realizing how much time I've wasted in the past on crafts.
Seriously, my Cricut makes crafting SO easy!
I got the Cricut Explore Air 2 in Mint and it has been a dream.
I've made this personalized cookie jar, a card, a shirt for Oaklyn, a few little decor things, and I'm already planning out some onesies for our new little girl!
While all of the Cricut machines are amazing, this particular model cuts and writes up to two times faster than older models and even has a "fast mode!"
Now get ready for all the rest of this info because trust me... you need this thing!
The Explore Air 2 gives you the ability to create on your computer, tablet, or smartphone and will send your design to your machine to print, cut, or write.
It has an Embedded Bluetooth® for wireless cutting, can cut 100+ materials from vellum to leather, has a smart Set® dial for easy material settings, includes a double tool holder for cutting and writing or cutting and scoring in one step, has Cut Smart® technology for precision cutting and easy and pre-calibrated material selection, allows you to upload and use your own image files or fonts for free, and has integrated storage compartments.
You guys, it's seriously amazing!
There is also an image library with over 3,000 ready to make projects if you need a little help coming up with creations.
There are seriously soo many ways to use a Cricut and I have no doubt you will quickly fall in love with it just as much as I did!


For this particular project I used the matte adhesive foil in dark silver and loved how it turned out!
Not only do I love the finished product but I couldn't believe how easy it was to make.
I very easily designed the look of it in Cricut Design Space and in seconds it was sent to my machine and printing.
I was also so scared it wouldn't transfer easily but was amazed at how easy it was!
Trust me, if I can do it... you absolutely can!
Make sure to Check out Cricut and explore all their amazing machines because you definitely will not regret it!


As for the recipe of these amazing cookies... you're going to want to make these asap as well ;)

Ingredients:
 -1 cup softened salted butter
-1/4 cup white sugar
-1 cup brown sugar
-2 tsp. vanilla
-2 eggs
-1 package vanilla instant pudding mix
-1 tsp. baking soda
-2 1/4 cups flour
-1/2 cup old fashioned oats
-1/2 cup butterscotch chips (more or less)

Directions:
1) Cream together the softened butter and sugars with a stand mixer or beaters until light and fluffy.
2) Add vanilla, eggs and the pudding mix and continue mixing.
3) Next add in your baking soda and continue mixing.
4) Start slowly adding in the flour and mix gently.
5) Add your chips and oatmeal to the batter and mix a minute longer.
6) Use a small cookie scoop (mine is from Wilton)  to drop dough onto a very lightly greased cookie sheet. Or just drop by the spoonful ;)
7) Bake your cookies for 8-10 minutes at 350 degrees until the sides are slightly golden.
8) Remove the sheet from the oven and transfer cookies over to a wire cooling rack if you have one
9) Store leftover cookies in your new cookie jar!

I hope you forgive me for missing Tasty Tuesday this week now since I technically still posted a recipe ;)
And seriously, run over to the Cricut website and get yourself a new present... you deserve it ;)

All my love,
Aleigh Joy
0

Tasty Tuesday: Oreo Pudding Pie

Tuesday, November 22, 2016

In the spirit of Thanksgiving this week, I figured I needed to post a pie recipe!
To be completely honest, I don't love pumpkin pie. 
I like all the creamy cookie crust pies ;)
I don't mind a berry pie but I definitely wouldn't choose it.
When I met Hunter, I quickly found out he's a fan of all things cookies and cream.
Seriously though, I haven't found one cookies and cream flavored thing he doesn't love.
I also found out pie is probably one of his favorite desserts.
So, I just had to come up with a cookies and cream pie!
He's a huge fan of banana cream which is like the easiest of all pies to make... so I went with that only Oreo flavored!
Just like that, this ridiculously easy Oreo Pudding Pie was made up and instantly became a favorite in this household.
In fact, we were just fighting over the last piece like an hour ago ;)
So make this pie for dessert this year... you won't regret it!

Ingredients:
-1 package instant Oreo pudding
-2 cups cold milk
-1 cup crushed Oreo cookie pieces
-1 package of cool whip
-Hot Fudge
-Oreo cookie crust. Make it or buy it... just buy it ;)
-Whipped Cream for garnish


Directions:
1) Whisk the pudding mix and cold milk for about 2 minutes just as the package says. Then, let it set in the fridge for 5-10 minutes.
2) Warm your hot fudge. Spread it over your cookie crust until it has a somewhat thin layer. The crust easily breaks so the more runny your hot fudge is, the better off you are. 
3) Once the pudding has set, take your unfrozen cool whip and fold it into the pudding. Next fold in the Oreo cookie bits.
4) Put all the pudding goodness into the shell and let set, covered, in the fridge for a few hours. 2 wasn't quite enough so next time I'm sticking with 4-6. 
5) Decorating is optional but once the pie was set I drizzled some more hot fudge over the top and garnished with whipped cream. You can never have enough whipped cream!

Seriously guys, such an easy pie to make!
I hope you all have an amazing Thanksgiving and stuff yourselves silly ;)

All my love,
Aleigh Joy


1

Tasty Tuesday: Cranberry Mousse

Tuesday, November 15, 2016

Can you believe how fast this holiday season is already going by??
I mean, it'll be Thanksgiving before we know it and suddenly it'll be Christmas Day, then we'll all be making New Year's resolutions.
How does time go by so quickly?
Let's go back to thinking about Thanksgiving for this post though.
I'm all about traditional sides for the Thanksgiving meal, but it can be fun to try something new every now and again.
I want to make fun sides for my family that they look forward to each year.
I made some cupcakes for an event recently and new I wanted a hint of cranberry in one of the flavors.
Cranberry can be a really strong flavor that usually is an acquired taste. 
That gave me the idea to try to sweeten up the cranberries and make it into a mousse!
I've made a few different flavors of mousse before, but never cranberry. 
So, it was definitely a trial and error process but I was very pleased with how it turned out!
I seriously ate a small bowl of it plain, by myself ha!
I was thinking this would be a really fun Thanksgiving side.
Especially for those that don't love the taste of cranberries.
It's light and fluffy and makes that strong cranberry flavor a little less intense. 
And it's great in cupcakes ;)


Ingredients:

1 bag fresh cranberries
2 cups sugar
1/4 c orange juice
2 cups whipping cream
1 1/2 tsp gelatin


Directions:

1) In a pot combine 1 bag of fresh cranberries, sugar, and orange juice
2) Cook on medium heat for about 30 minutes or until the cranberries begin to "pop"pour the mixture 3) Scoop that mixture into a blender and blend on high speed until smooth. Then return it right back to the same pot and add in 1 and 1/2 tsp of gelatin.
4) Cook that on medium low heat for about 15 minutes give or take. Try to watch for a change in consistency and stir occasionally. 
5) Remove the mixture from heat and cool until just about room temperature. To speed up this process you can stir it a bit and release the warm air.
6) Once it has reached room temperature stick it in a large bowl and refrigerate it for about 1 hour or until cooled.
7) Beat your cream on high until stiff peaks form. Fold your cooled cranberry sauce into the whipped cream with a rubber spatula. And ta-da! You have yourself delicious cranberry mousse!


This mousse holds up well in the fridge for a few days as long as stored in an airtight tupperware container. 
As I said before, it was awesome in cupcakes but was really good by itself too!
Let me know if you tried this as a Thanksgiving side this year!
But I also want to know what is on your Thanksgiving menu this year!

All my love,
Aleigh Joy
0